After years of testing, we’ve lastly perfected the final word chocolate cake recipe. Our recipe has been tried and beloved by tens of hundreds of individuals worldwide, all of whom agree that it’s the most wonderful chocolate cake ever. We promise, when you do that recipe, you gained’t return to the others.
For extra scrumptious cake, strive our Most Amazing Texas Sheet Cake.

Why Our Recipe
- It’s Moist! — One of many key measures of a chocolate cake is whether or not or not it’s moist. This one checks each field!
- One Bowl —The batter is made in only one bowl, so no combining moist and dry components individually.
- Wealthy Chocolate Taste — This cake is wealthy and fudgy, making it a real indulgence for any chocolate cake lover.
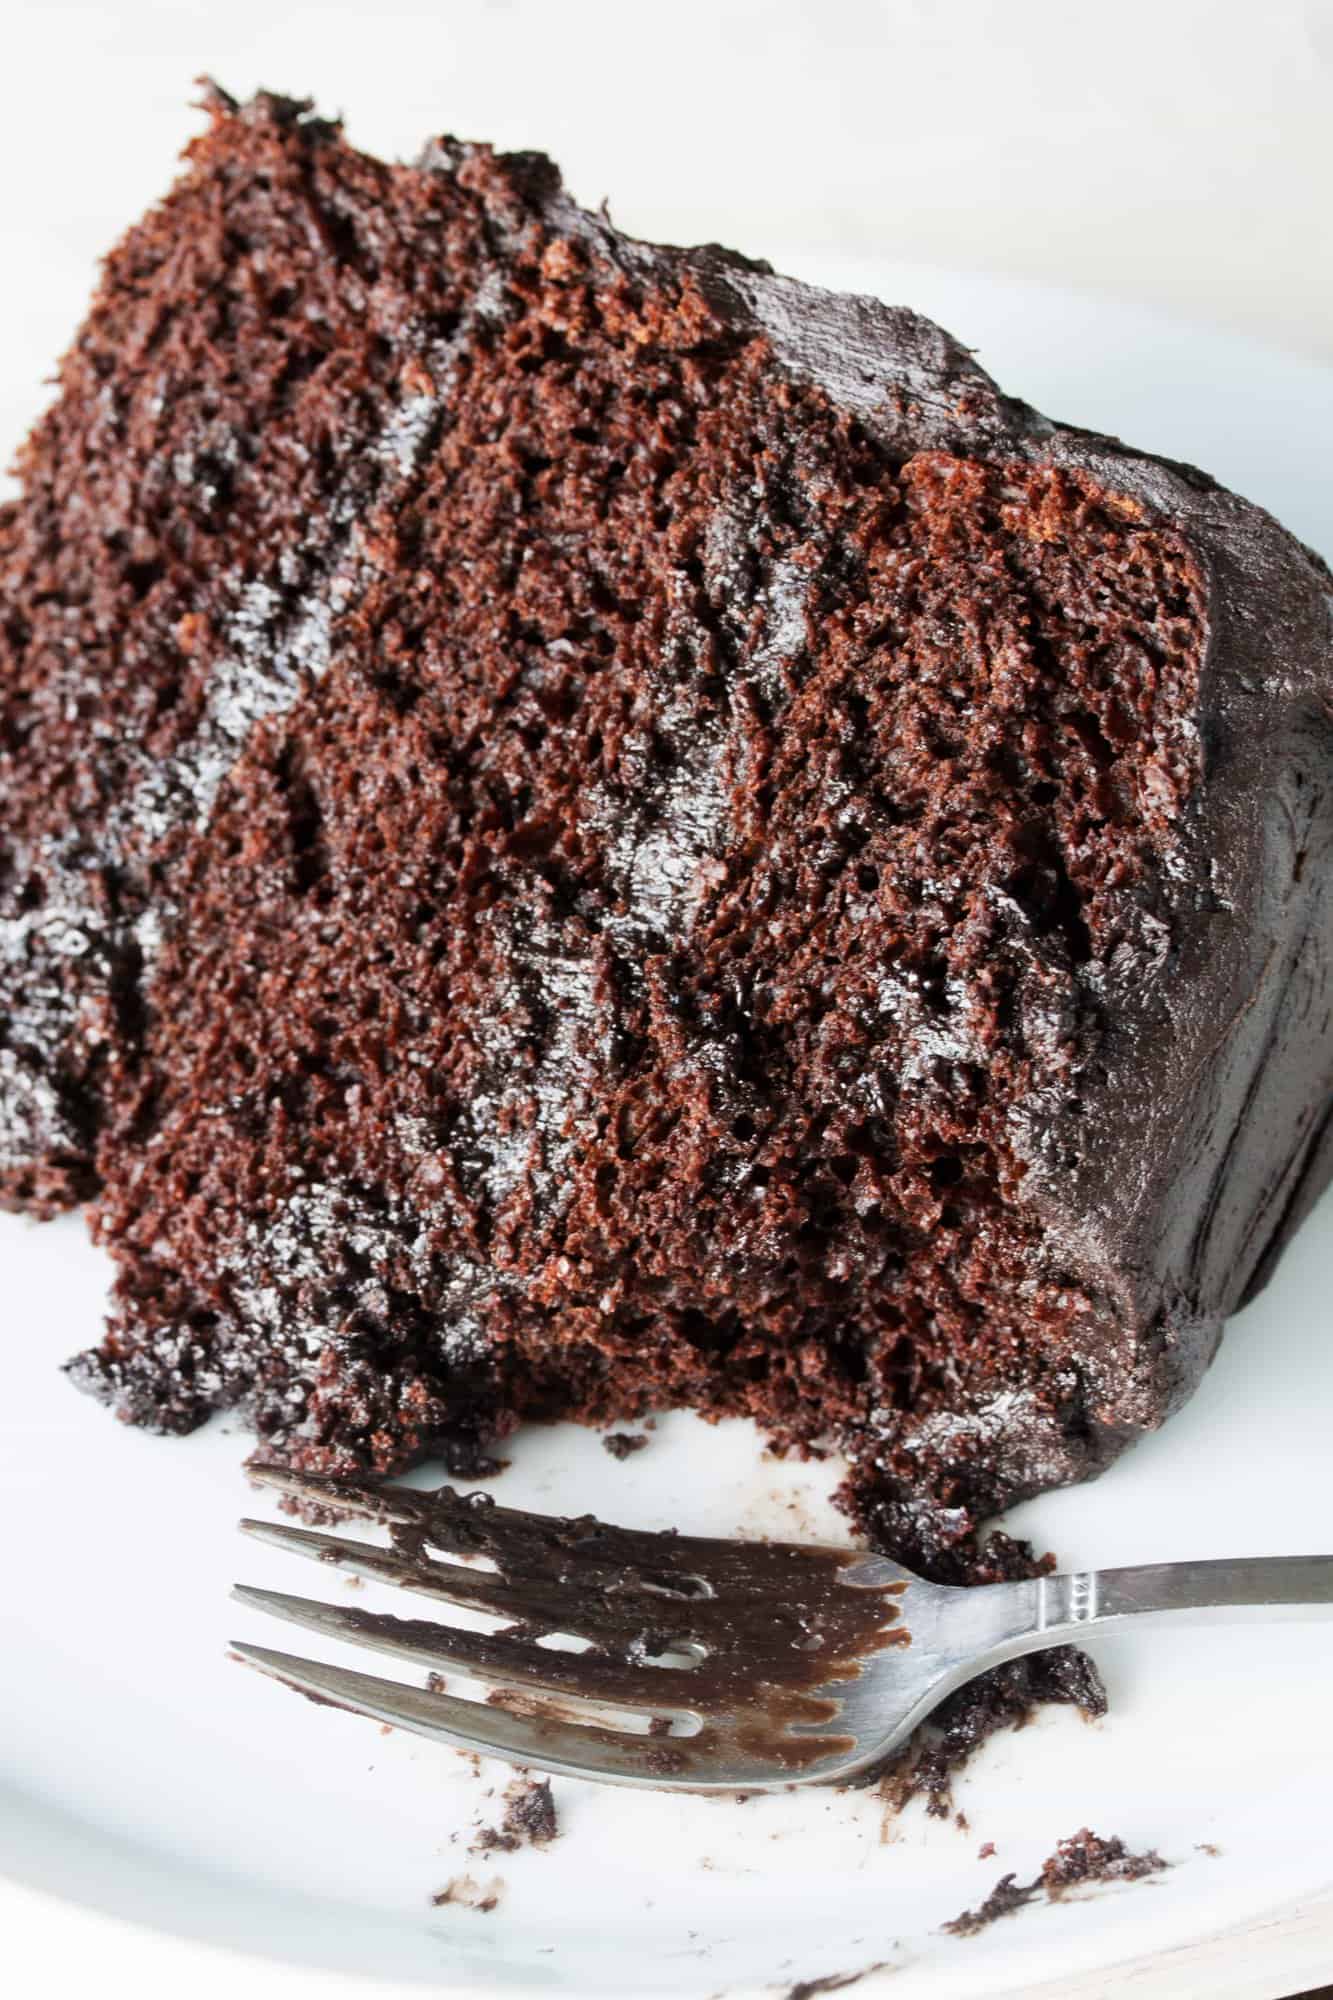
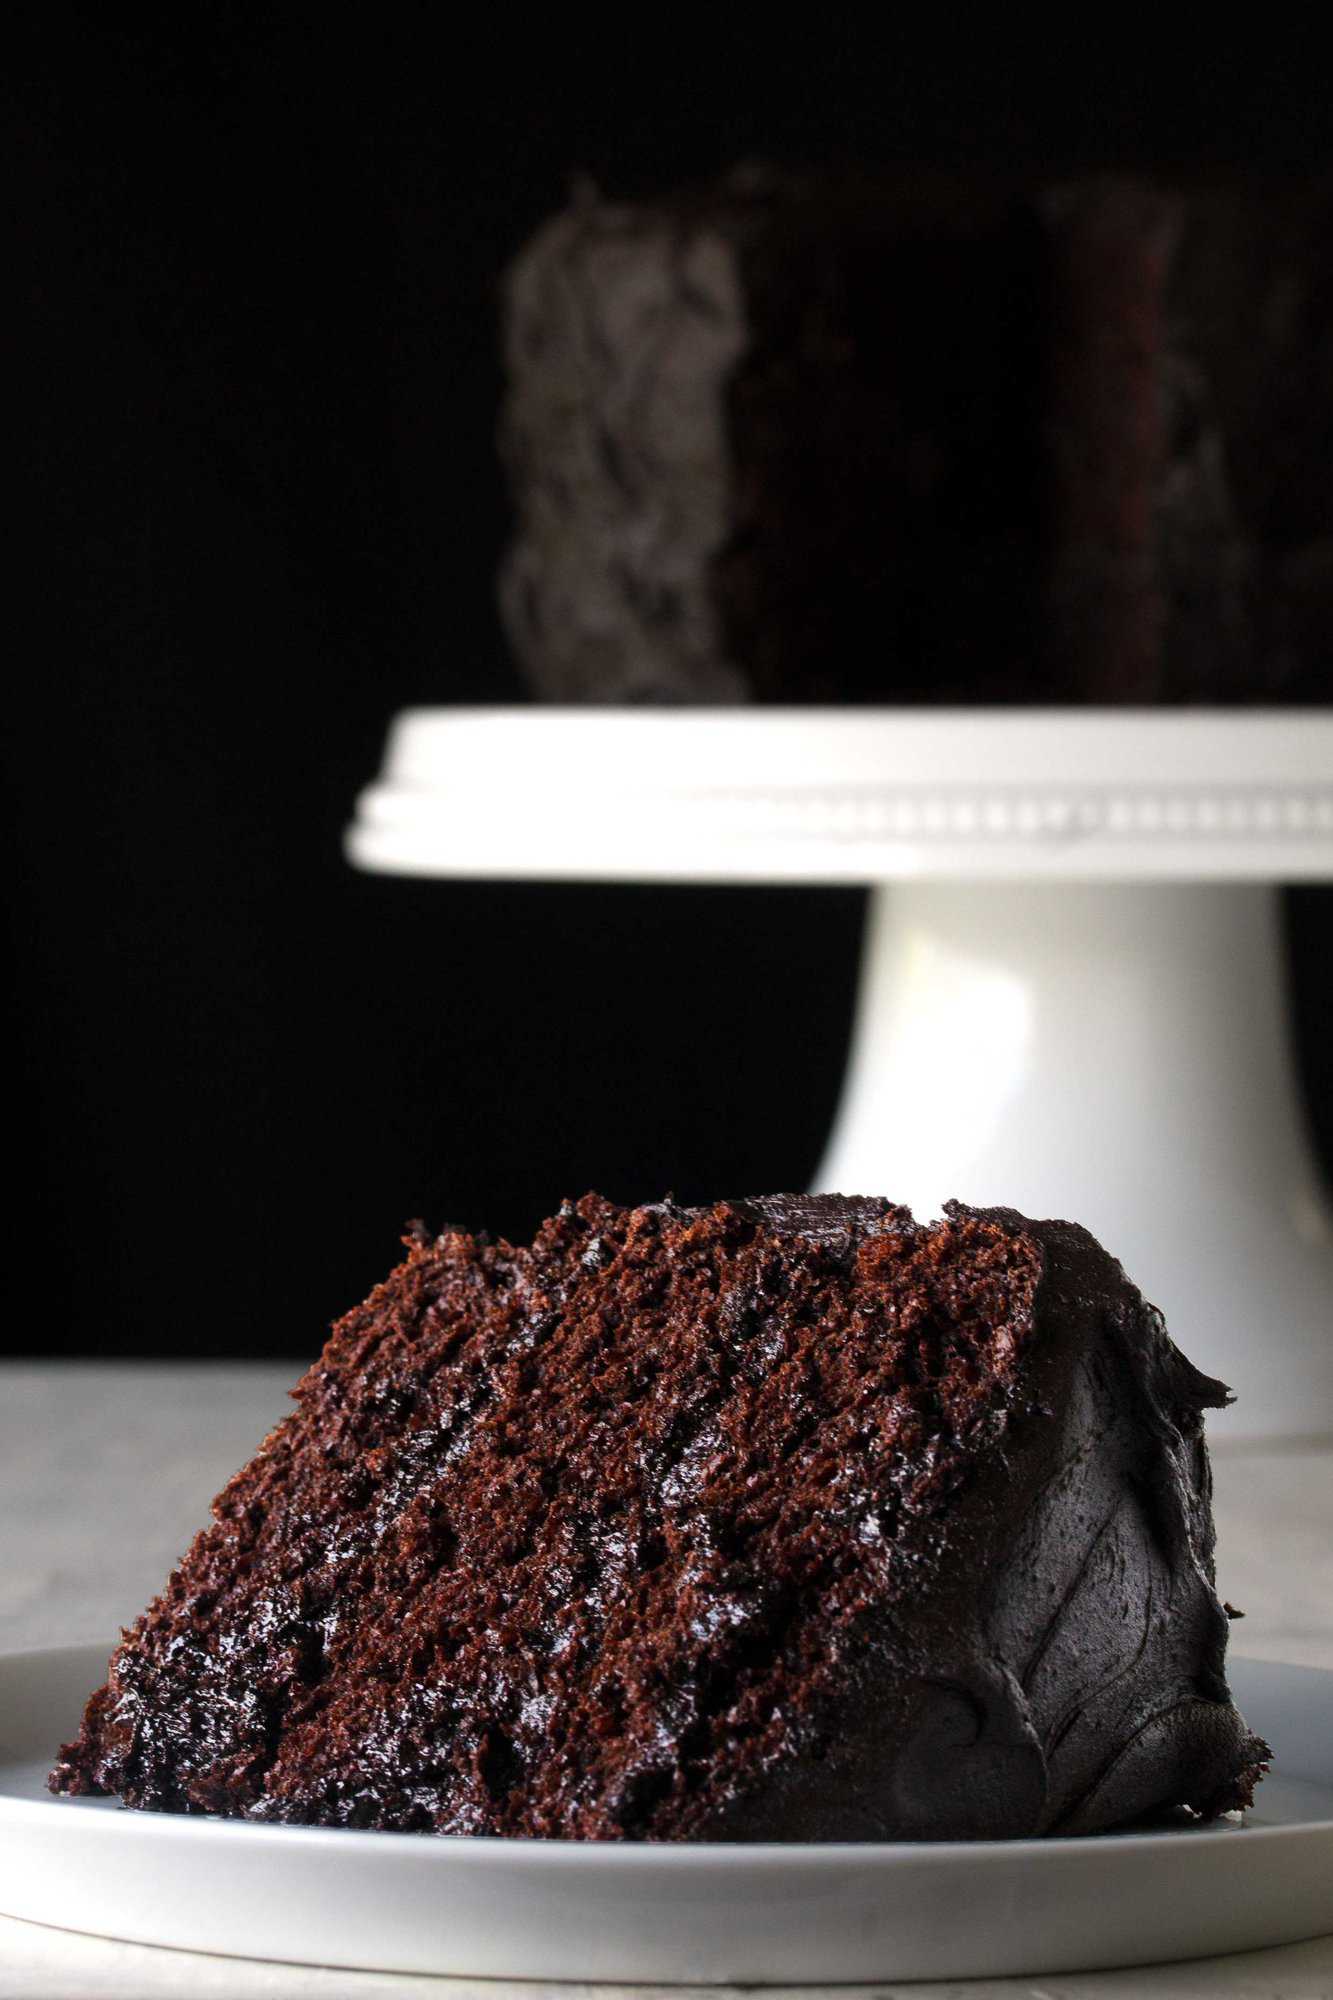
This fudgy chocolate cake is so decadent, it has gained the nickname “The Matilda Cake” as a result of it appears similar to the cake eaten by Bruce Bogtrotter within the film Matilda. And I’ll take that as a praise! This cake actually is the chocolate cake of my desires.
Ingredient Notes
- All-Objective Flour:The principle structural element. It offers the cake’s texture and physique.
- Unsweetened Cocoa Powder: We suggest Hershey’s cocoa powder because it’s extensively accessible. You too can use higher-quality choices like Ghirardelli or these from specialty chocolatiers, although they might be dearer.
- Baking Soda & Powder: Test the expiration date to make sure correct leavening.
- Granulated Sugar: Stick to normal granulated sugar for finest outcomes.
- Buttermilk: Provides moisture and a slight tang to stability the sweetness. Heat it within the microwave for 20-30 seconds to carry it to room temperature rapidly.
- Eggs: Room-temperature eggs make for a fluffier cake. To heat eggs rapidly, submerge them in a bowl of heat water for five minutes.
- Vegetable Oil: Supplies important moisture for the softest cake texture.
- Vanilla Extract: Use a full tablespoon to carry out the daring vanilla taste. Go for pure vanilla extract if attainable for the most effective outcomes.
Sorts of Cocoa Powder
Cocoa powder is a crucial ingredient in lots of baked items and might have an effect on the flavour and texture of the ultimate product. You will need to use the kind of cocoa powder laid out in a recipe, as utilizing the mistaken kind can alter the stability of flavors and sweetness. There are a number of kinds of cocoa powder accessible, every with its personal distinct taste and properties.
Unsweetened cocoa powder, particularly Hershey’s model, was used on this cake recipe as it’s the most generally accessible. You too can use higher-quality cocoa powders comparable to Ghirardelli or these from specialty chocolatier outlets, however they are often costly. It is suggested to keep away from utilizing cheap retailer manufacturers as they have an inclination to not produce the most effective outcomes.
Dutch-process cocoa powder is a sort of cocoa that has been handled with an alkali to neutralize its acidity. It has a milder taste and darker colour than pure cocoa powder, and can also be simpler to dissolve in liquids. When utilizing dutch-process cocoa powder instead of unsweetened cocoa powder in a recipe, you will need to think about that it could behave otherwise on account of its decrease acidity. Nevertheless, on this recipe, dutch-process cocoa can be utilized with out making another modifications.
*For the dark-colored frosting in these pictures, Hershey’s Particular Darkish Unsweetened Cocoa Powder was used.
Pan Dimension Adaptions
This chocolate cake recipe yields roughly 9 cups of batter whole, or 3 cups for every of the 9-inch layers. Listed below are some widespread pan sizes and the approximate quantity of batter wanted for every particular person pan:
- 9×2-inch spherical pan: 3 cups batter
- 8×2-inch spherical pan: 2 1/4 cups batter
- 13×18-inch sheet cake pan: 6 cups batter
- 9×13-inch pan: 6 cups batter
- 12 normal cupcakes: 3 cups batter
- 10-12 cup bundt cake pan: 8 cups batter
As a normal rule, cake pans ought to be crammed 2/3rds of the way in which full for cake baking, except in any other case specified within the recipe.
It’s all the time a good suggestion to test for doneness by inserting a toothpick or cake tester into the middle of the cake. If it comes out clear or with just some crumbs hooked up, the cake is probably going accomplished. You too can gently press the middle of the cake together with your finger – if it springs again, it’s most likely able to be faraway from the oven.
Frosting Choices
Chocolate Ganache: Solely 2 components—chocolate and heavy cream. It’s usually used as icing or as a filling. Some cooks even use it as a dipping sauce paired with fruit like strawberries. You’ll additionally see it on donuts and cupcakes. It’s wealthy, thick, and candy.
Chocolate Fudge Icing: Icing is commonly used interchangeably with frosting. Frosting does are usually a bit thicker, whereas icing is often smoother and simpler to unfold than frosting. This cooked chocolate icing is made with buttermilk, which thickens it up and offers a slight tart style.
Buttercream Frosting: Buttercream is our go-to frosting for many truffles, and it’s fairly simple to see why when you’ve tried it. It’s completely candy and creamy, and tastes unbelievable. We are able to eat these items by the spoonful, nonetheless, we promise it’s even higher on prime of a cake or cupcakes.
Cream Cheese Frosting: This frosting is creamy, thick, and has a slight tang. Merely add cocoa powder for a chocolate model.
Pistachio Buttercream Frosting: This frosting has a easy, buttery consistency with a slight crunch from the blended pistachio nuts. This frosting pairs so nicely with chocolate cake. Suppose Dubai chocolate bar—the mix can’t be beat.
Sweetened Condensed Milk Frosting: A easy and straightforward approach to make a creamy, candy frosting. Whether or not you make chocolate or vanilla frosting, it solely takes 3 components!
Even Layers Like a Professional
Weigh the Batter: Use a kitchen scale to divide the batter equally between the pans. Weigh the empty pans first, then weigh them once more with the batter to make sure they’re evenly distributed.
Degree the Batter: As soon as the batter is within the pans, gently faucet every pan on the counter to launch any air bubbles and even out the floor.
Trim After Baking: After the truffles are absolutely cooled, use a serrated knife or a cake leveler to trim any domed tops. This step ensures a flat floor for stacking.
Use Baking Strips: Baking strips wrapped across the exterior of the pans might help forestall doming and create extra uniform layers.
Storage Directions
Retailer the assembled cake in an hermetic container or cake dome at room temperature for as much as 2 days. For cream cheese or perishable frostings, retailer within the fridge for as much as 4 days.
Freeze Unfrosted Layers: After wrapping in plastic wrap, add a layer of aluminum foil to forestall freezer burn. Label with the date and freeze for as much as 3 months. Thaw within the fridge in a single day earlier than adorning.
Freeze Frosted Desserts: Freeze in a single layer on a baking sheet till strong, then wrap tightly in plastic wrap and aluminum foil. Retailer for as much as 2 months. Thaw within the fridge in a single day earlier than serving.